Kitchen Remodel in Riverside, CA
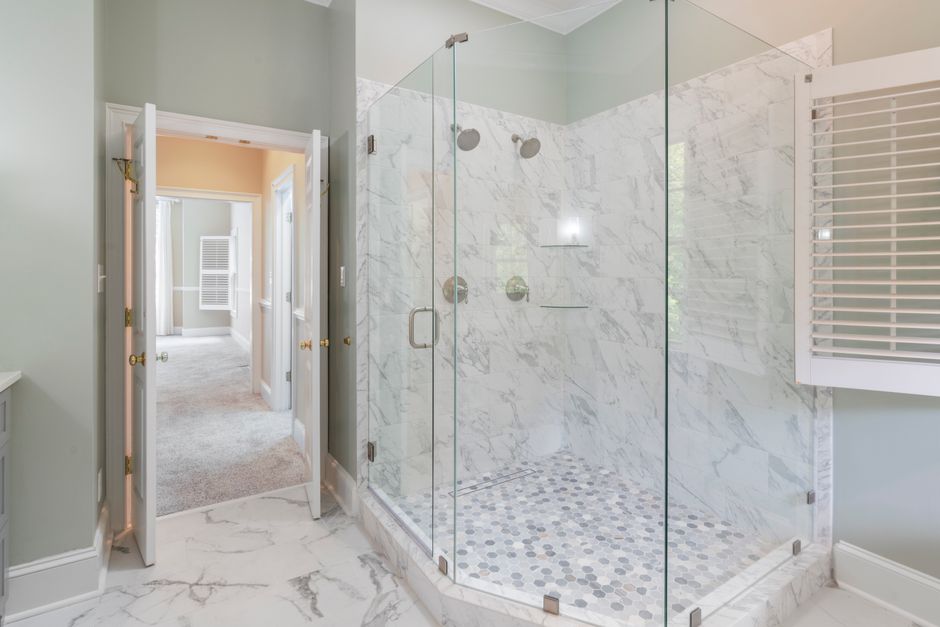
Notes on partial kitchen remodels in Riverside, CA: refacing cabinets, swapping countertops, changing a range and lighting while keeping the layout.
What We Cover
- Switching From a Gas Range to Induction in an Existing Kitchen The gas line cap, the new circuit and the cookware check involved in changing a Riverside gas range for induction.
- Planning Kitchen Lighting and Under-Cabinet Lights How to layer ceiling, task and under-cabinet lighting so a Riverside kitchen works in strong afternoon sun and at night.
- Living Through a Phased Kitchen Remodel in Summer Heat How to keep a working kitchen in a Riverside home during phased work, from a temporary sink to the flooring transition.
- Moving a Kitchen Sink in a Slab Foundation Home Why sink relocation is harder on a slab and how plumbers handle drain slope and supply lines in Riverside houses.
- Refacing or Replacing Kitchen Cabinets in a Riverside Home How to tell whether existing cabinet boxes in a Riverside kitchen can be refaced or whether new cabinets make more sense.
- Swapping Countertops Without Gutting the Kitchen What happens to the sink, backsplash and cabinets when only the countertop surface changes in a Riverside kitchen.
Kitchen Remodel in Riverside, CA
A kitchen remodel in Riverside, CA does not always mean tearing the room down to the studs. Plenty of kitchens here have a layout that works and surfaces that do not: tired cabinet doors, a stained countertop, a sink that leaks at the rim, a gas range nobody likes cooking on. The crew side of the work is deciding which of those parts can stay and which have to go, and doing the changes in an order that keeps the household fed.
Keeping the layout, changing the surfaces
Most partial remodels start at the cabinets. If the boxes are sound plywood, refacing swaps the doors and drawer fronts and leaves the plumbing and wiring alone. If the sink base has gone soft, one new unit goes in and the rest stay. A countertop swap follows once the template is cut, and the backsplash gets patched to meet the new edge.
Houses in Riverside County come with quirks
Older homes near the Mission Inn and the Box Springs Mountains often carry small electrical panels and original plumbing, while many newer slab houses across the Inland Empire make moving a sink a concrete job. Hard water from the Santa Ana River basin scales old lines and valves, and summer heat shapes when mortar, thinset and finishes can be set.
Appliances, lighting and living through it
Changing from a gas range to induction means capping a line and running a new circuit. A lighting plan with under-cabinet lights is easiest to wire while the walls are open. During the work, a temporary kitchen set up in the next room, a dust barrier at the doorway and a calm-weather morning for demolition make weeks of work livable, and a flooring transition at the end ties the room into the hall.
Guides
The pages here cover refacing against new cabinets, swapping countertops, moving a sink on a slab, switching to induction, planning kitchen lighting and living through phased work in Riverside homes. The posts go further into the choices behind each stage.
Latest Guides
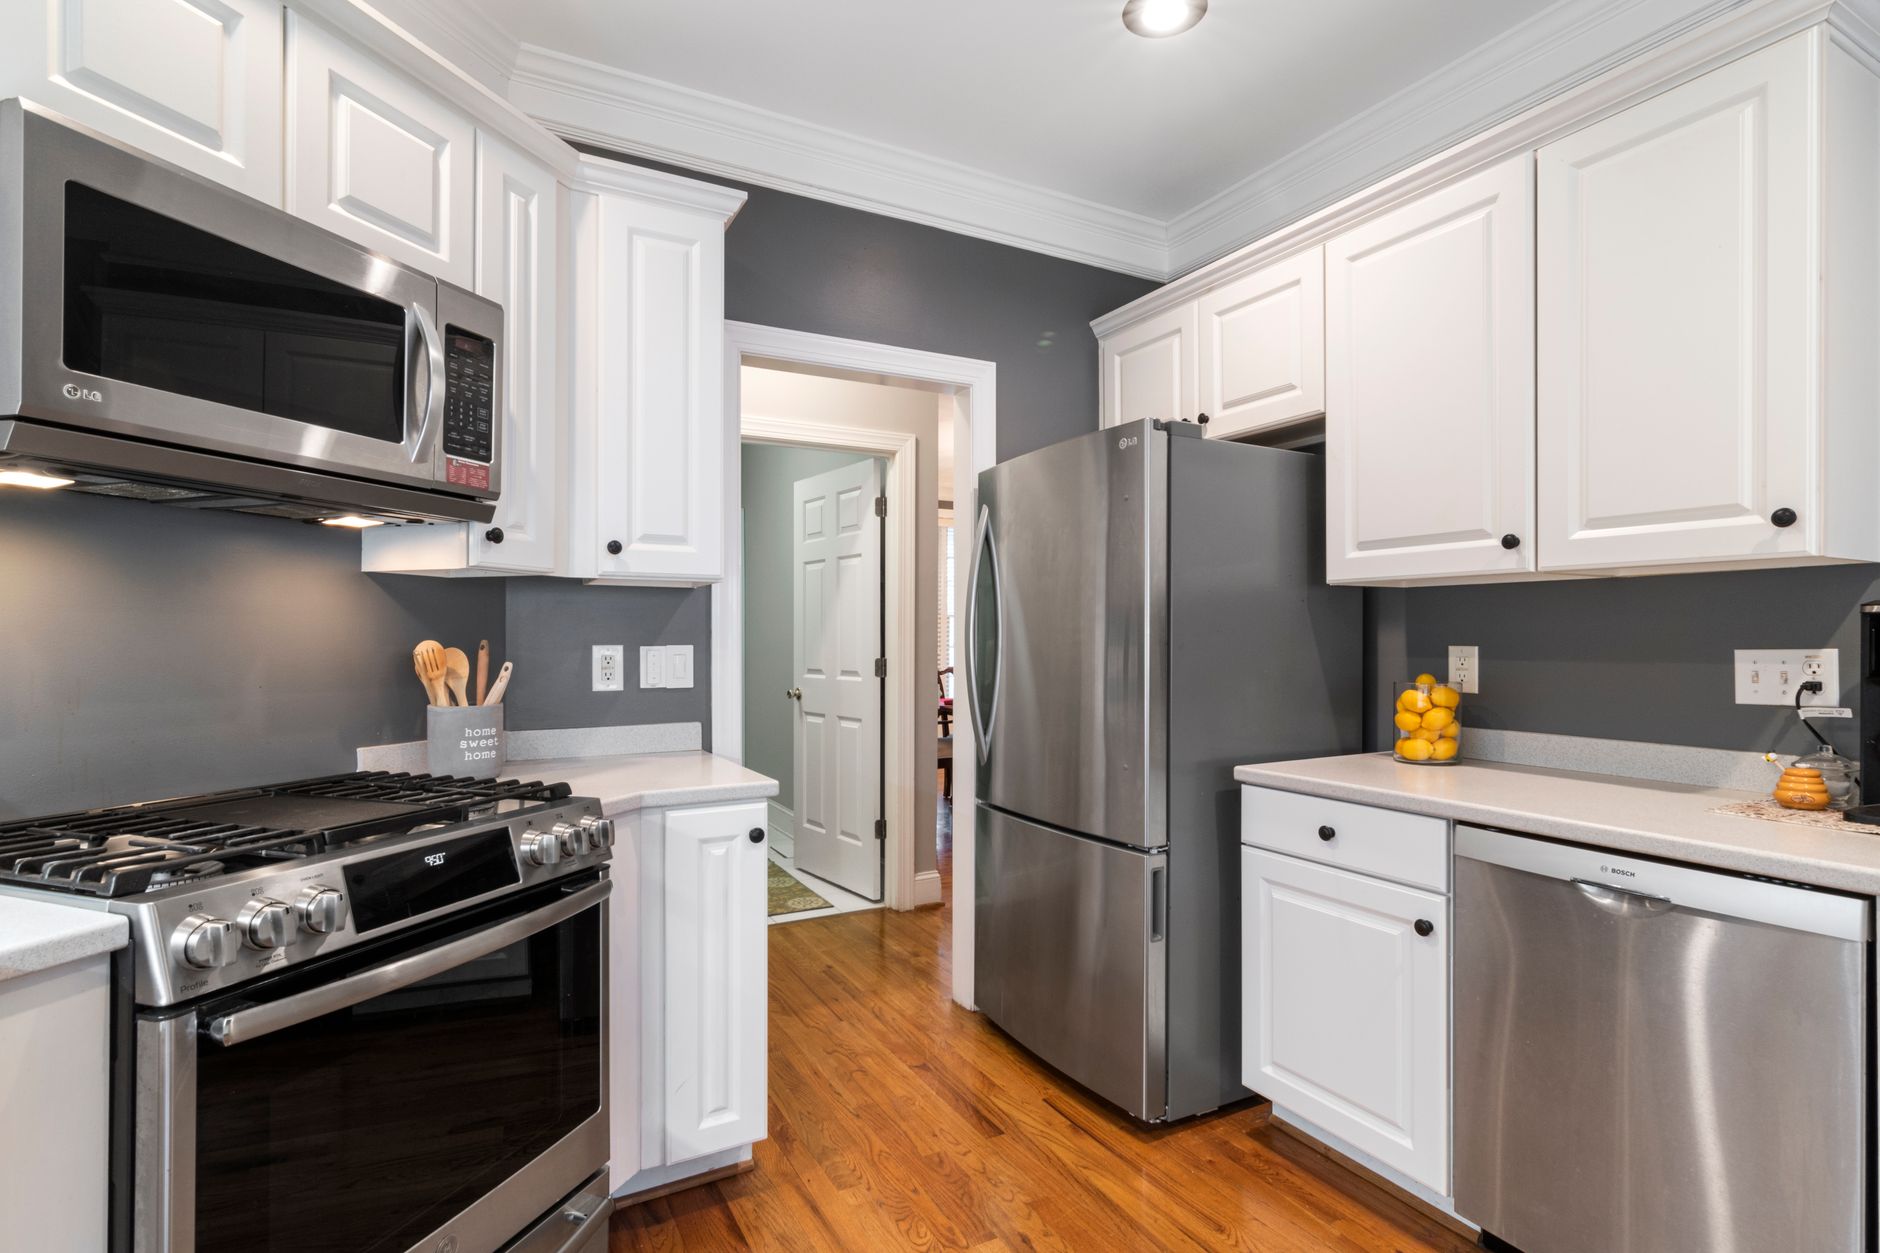
Changing Kitchen Flooring Around Cabinets That Are Staying
Replacing a kitchen floor is often the quiet third step of a partial remodel, after the cabinet doors and the countertop. It is also the step with the most hidden decisions, because the floor runs under the cabinets, meets the hallway, and carries the appliances. These are the questions that come up most often in Riverside homes when the cabinets are staying put, answered the way a flooring crew would answer them on site.
Does the new floor go under the existing cabinets or stop at them?
In almost every partial remodel the new floor stops at the cabinet base. Pulling base cabinets to run flooring underneath turns a surface job into a demolition job, and it disturbs the sink plumbing and the countertop that was just set. The floor ends at the toe kick, and a trim piece covers the small gap where the flooring meets the cabinet.
That choice has a consequence. The old floor level, the toe kick height and the thickness of the new material have to agree. A new floor thicker than the old one can leave the dishwasher and the range sitting lower in their openings, and it can also stop the dishwasher from sliding back out for service. Measuring the height of the dishwasher opening before choosing the material avoids a surprise on install day.
What happens to the old floor first?
The old floor comes out unless the new material is meant to float over it. Vinyl sheet and linoleum lift in strips. Ceramic tile is broken up with a chisel and hammer, which makes noise and dust, and it often takes a thin layer of the subfloor or the slab surface with it. Glue residue then gets scraped, ground or skimmed over with a leveling compound so the new material lies flat.
A concrete slab, which is the common base for homes across the Inland Empire, needs a different check from a wood subfloor. The slab is tested for moisture and for flatness. A dip of even a fraction of an inch across a short span shows through plank flooring as a soft spot, and a high spot makes tile rock. Leveling compound fills the low areas, and grinding removes the high ones. A wood subfloor is checked for squeaks and soft boards, and fastened down where needed.
Which materials hold up in Riverside heat?
Summer in Riverside is hot and dry, and the sun through a west-facing window can heat a floor surface to the point that it is uncomfortable to touch. Materials respond differently. Porcelain tile is dense, stable and unaffected by heat, and it can feel cool underfoot in the evening. Luxury vinyl plank copes well with spills, but a plank in direct afternoon sun can expand and show a gap or a ripple if it was installed tight against a wall. Engineered wood moves more with humidity swings than the other two, and it favors a room with steady air conditioning.
Natural stone tile is beautiful and varies from piece to piece, and it needs sealing in a kitchen where cooking oil and wine land on the floor. Sheet vinyl is the simplest to install and the easiest to clean, but it shows seams and dents under a heavy refrigerator. No material is a bad choice; the right one is the one that suits how the household cooks, how the room faces the sun, and how much floor movement the house shows.
How do you handle the transition to the hallway and the next room?
The transition strip is where two floors meet at a doorway or an open arch. If both floors are the same height, a low, flat strip or a simple gap filled with flexible sealant works. If the heights differ, a ramped reducer strip makes the step gentle enough for a vacuum or a rolling cart. Placing the transition under a closed door, or at a natural break in the room such as the end of a cabinet run, hides it from view.
Open layouts make the decision harder. When the kitchen flows into a dining area without a doorway, there is no natural place for a strip. In that case the new floor can run continuous through the open area and stop at a hallway or a threshold farther away, which also avoids a hard line cutting through the middle of the living space. Planning the stop point before ordering materials keeps the amount of flooring needed accurate and the cut lines clean.
Can the floor be done in phases with the rest of the kitchen?
Yes, and the order matters. Flooring that goes in before the cabinets is the cleanest, but in a partial remodel the cabinets are already there, so the floor is the last major surface to go in. The best order puts demolition, plumbing, gas and electrical work first. Then cabinet refacing or replacement, then the countertop, then the backsplash, and finally the floor, followed by baseboards and the transition strip.
That order protects the new floor. A countertop install drags stone and tools across the room, and a refacing crew works with solvents and fasteners. Leaving the floor for last means the finished surface never sees that traffic. The tradeoff is that the old floor gets scuffed and stained during earlier phases, and the household lives with it a little longer. A thin sheet of hardboard or rosin paper over the old floor helps in the meantime.
How should the household live in the kitchen during flooring work?
Flooring takes a few days of disruption, and the key is the curing time. Tile needs a day for the thinset to set before foot traffic, and another day or more before grout is applied and cured. Adhesive-set plank needs a short window before furniture and appliances return. During that stretch the kitchen is off limits, so the household needs the temporary setup that earlier phases may have already established: a table in the next room, a microwave and a hot plate, and the refrigerator close by on a hard surface.
Dust control matters again because tile cutting, slab grinding and subfloor sanding all send fine dust into the air. Plastic sheeting at the doorways and a fan blowing out a window keep most of it contained. On a day when a Santa Ana wind is blowing grit through open windows, the grinding or cutting is better postponed than done in a dirty breeze.
What should be checked before the crew leaves?
A few checks catch the common problems. Walk the whole floor and listen for hollow sounds under tile, which means a void under a piece and a likely crack later. Run a hand along each transition strip to feel for a lip. Open and close the dishwasher, the oven door and the refrigerator, to confirm nothing binds. Look at the toe kick line where flooring meets cabinets and confirm the trim covers the gap evenly. And look at the grout lines and the sealant beads in good daylight, since afternoon light across a floor shows every uneven line.
Finally, leave a small box of leftover tile or planks with the household. A cracked piece in a few years is easy to replace when a match is on hand, and impossible when the pattern has been discontinued.
A flooring change goes smoothest when it is planned to stop at the cabinets, finish last, and meet the next room at a transition chosen before the first piece is cut.
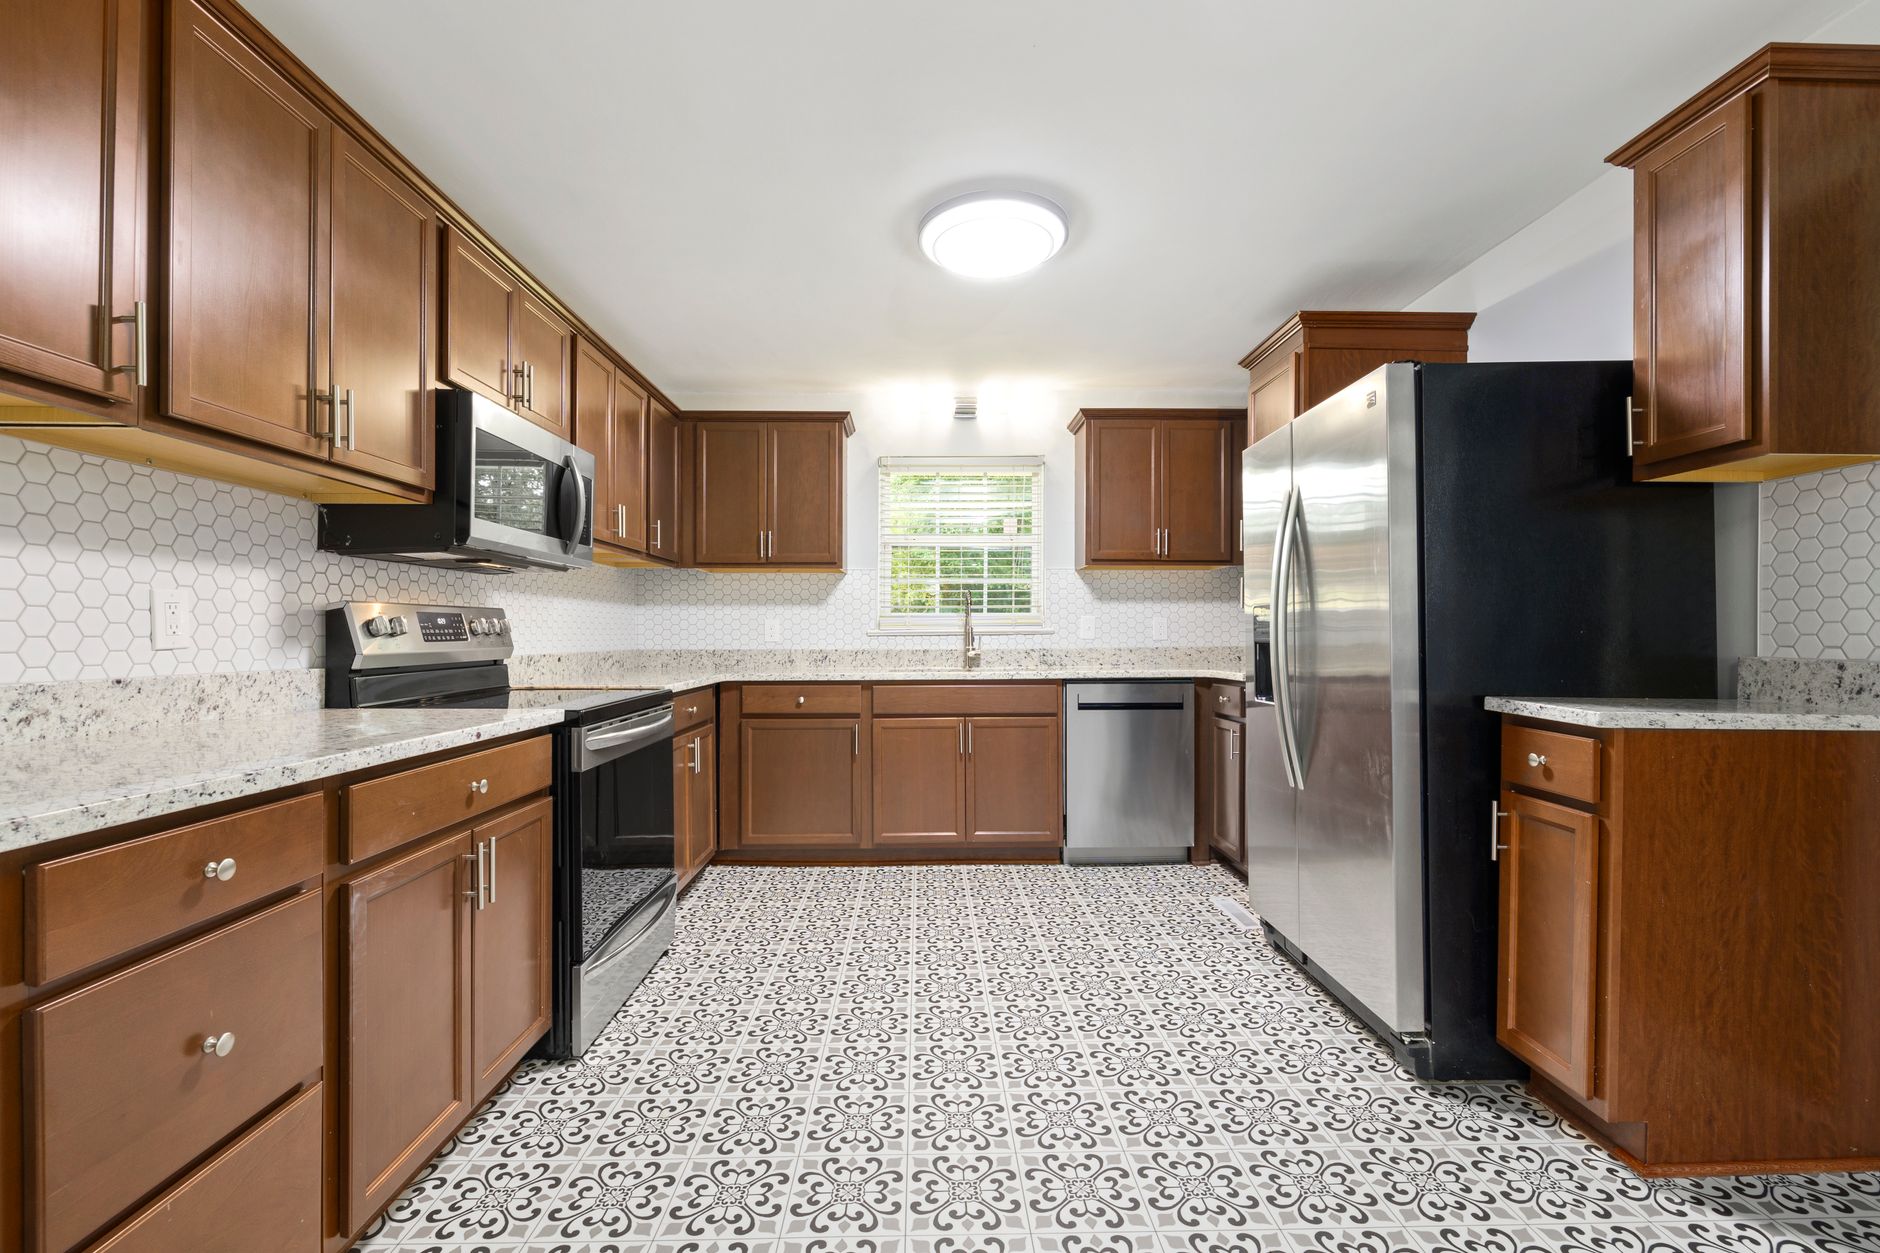
Choosing a Pantry Layout When the Rest of the Kitchen Stays Put
A pantry is the part of a kitchen that most often stops working first, and it is also the part that can be rebuilt without touching the sink, the range or the countertop. Homes across Riverside County were built in many different decades, and the pantry space that came with each one reflects its era: a shallow closet in a tract house from the middle of the last century, a deep walk-in in a larger house on the hill roads toward the Box Springs Mountains, a single tall cabinet beside the refrigerator in a newer slab home in the Inland Empire. Each of those starting points limits what a pantry upgrade can be. This article walks through how to read the space first, then choose a layout that fits it, and then fit the work into a phased kitchen update.
What does a pantry actually need to do in a kitchen that is staying put?
A pantry has three jobs. It holds dry goods and canned food at a reachable height. It holds small appliances that would otherwise crowd the countertop, such as a mixer, a rice cooker or a toaster oven. And it gives the household a place to stage groceries between the car and the cupboards. In a kitchen where the layout is staying, the pantry has to do all three inside the footprint that already exists, which makes depth and door swing the two numbers that matter most.
Depth is the first limit. A shelf deeper than about a forearm hides everything behind the front row, so cans and jars at the back are forgotten until they expire. Shallow shelves with a rail on the front lip hold more usable stock than deep shelves ever do. A narrow closet with shallow shelves on both sides and a clear aisle down the middle will often out-perform a deeper closet with fixed shelves, because every item stays visible from the doorway.
Door swing is the second limit. A closet door that swings into the kitchen blocks the aisle while it is open, and a door that swings into the pantry blocks the shelves behind it. Swapping a hinged door for a pocket door, a bifold or a sliding barn-style track often gives back more working space than any amount of shelving. In a kitchen that is otherwise staying put, a door change is one of the few moves that costs little and changes daily use right away.
How do the walls and the floor limit the pantry options?
Before any shelf is drawn, the walls get checked. A pantry carved out of an old closet usually shares a wall with something that cannot move: a water heater, a furnace, an electrical panel or a plumbing wall. Code keeps shelving and stored goods clear of a panel, and a gas appliance needs its own clearance and combustion air, so a closet that houses either one is not a pantry candidate. A wall that holds a vent stack from the sink is a fixed obstacle as well, which matters if the shelves are meant to run floor to ceiling.
The floor matters more than people expect. A slab foundation, common in the Inland Empire, gives a flat, stable base, and a pantry on a slab can carry heavy loads without any concern. A raised wood floor over a crawlspace flexes slightly, and a tall pantry full of canned goods can show gaps at the baseboard over a few years if the floor was never meant to carry that weight. Checking for a firm, level floor, and adding support under a heavy pantry wall if needed, is a quick job when the kitchen is already open and a much slower job later.
Walls also decide power and light. A pantry that holds a toaster oven or a charging station wants an outlet inside the space, and a deep pantry wants a light on the ceiling or along the shelf edges. Running a cable inside a wall is simple while the drywall is open and awkward once it is closed. If the pantry rebuild falls in the same phase as any other electrical work in the kitchen, such as the lighting plan or the new circuit for an induction range, the electrician can handle all of it in one visit.
Which pantry styles suit a Riverside kitchen?
The table below compares the layouts that fit most existing homes. It describes how each one behaves rather than what it costs, since the right choice depends on the room and not the budget.
| Layout | Where it fits | What it does well | What to watch |
|---|---|---|---|
| Walk-in closet pantry | An old closet or a corner of the room with a real door and a floor area to stand in | Holds the most; room for small appliances and bulk items | Dead corners; needs a light and good shelf depth |
| Tall cabinet with pull-out shelves | A single bay beside the refrigerator or at the end of a run | Every shelf slides out to the front; no deep dead space | Needs a sturdy cabinet box and full-extension slides |
| Door-mounted racks on a closet | A shallow closet that is too narrow for aisle shelving | Uses the back of the door; cheap to rearrange | Clearance for the door swing and the rack depth |
| Open shelving on a wall | A blank wall near the dining area or a hallway end | No door at all; fast to reach | Dust and grease; everything is on display |
| Base cabinet drawers | Lower cabinets near the range or the prep area | Heavy items sit low and slide out whole | Reduces the total number of shelves |
A shallow closet in an older home near the Mission Inn district usually ends up as the first or third option. A deep walk-in space in a larger home tends to suit the first. A home with no spare closet at all is left with the tall cabinet or the drawer base, and in that case the pantry stops being a room and becomes a piece of furniture that the cabinet plan has to absorb.
How does a pantry change the plan for lighting, power and flooring?
Every pantry option touches something else. A walk-in needs a light, and a motion-activated strip along the shelf edge is easy to wire while the wall is open. A tall cabinet with pull-out shelves needs a box that is square and plumb, which can force the neighboring cabinets to be adjusted. A pantry on an exterior wall may need insulation checked, because stored food does not like a space that swings between a hot afternoon and a cool night.
Flooring is the one that surprises people. A pantry that opens off the kitchen sits on the same floor, so if the floor is being replaced in a later phase, the pantry floor has to match or transition cleanly at the threshold. Laying the new floor before the shelving goes in is much easier than lifting a heavy shelf unit later. If the flooring transition is the last phase of the kitchen update, it is worth deciding early whether the pantry floor changes with it, so the shelves are fixed to the wall and not to a floor that will be pulled up.
Hot weather affects the plan as well. Summer heat in Riverside pushes the temperature in a closet on an outside wall well above what dry goods like. Placing the pantry on an interior wall, or at least away from a west-facing wall, extends the shelf life of flour, nuts and oils. This is one of the few cases where the compass direction matters more than the floor plan.
How is a pantry rebuilt in phases without losing the kitchen?
The pantry is the easiest part of a kitchen to phase, because it is a self-contained space. The usual order is clear, empty, repair, wire, paint, shelve, restock. Emptying the pantry first sounds obvious, but it is the step that exposes how much was in there: the household usually discovers several duplicates and a good number of expired items, and the sorting alone changes what shelf depth is actually needed.
While the shelves are out, the walls get repaired and any wiring is added. Painting comes before shelving so the wall behind the shelves is finished. The shelves go in last, with adjustable standards or pins so the spacing can be changed when the household changes what it stores. During this stretch, the pantry goods can live in totes in the dining room, which keeps the kitchen usable. If the pantry work overlaps a countertop swap, the totes can sit on a folding table so the old countertop can be cleared for demolition.
Phasing also means the pantry can be done before or after other parts of the kitchen. A household that is nervous about a long project can rebuild the pantry first, live with the result for a season, and then decide how far to take the rest. That order often leads to a better decision about cabinets, because the household already knows how it uses storage.
What goes wrong most often with pantry rebuilds?
Shelves that are too deep top the list, followed by a door that swings the wrong way. Shelf standards that are fixed at one spacing come next, then a missing outlet that someone realizes only after the walls are closed. A fourth is a pantry placed on a hot wall, which shortens the shelf life of food without anyone noticing why. And the fifth is a pantry that was sized for the household's current stock without room for the bulk items bought once a month.
Walking through the finished space before the shelves are fixed catches most of these. Standing in the doorway with a few real items in hand and reaching to each shelf takes a few minutes and shows problems that a drawing never will. It is a small step, and it is worth taking in any kitchen, whether it sits near the University of California Riverside campus or out near Fairmount Park.
A pantry rebuild works best when the space is read first, the layout fits the walls and the floor, and the wiring and flooring decisions are made while the room is open.